DDEV is an OS agnostic wrapper for Docker that makes it easy to set up PHP projects on your local machine. DDEV aims to make Docker simple and accessible to everyone. Even better, DDEV is entirely open source.
In this guide we will show you how to set up a local development environment for Mautic, using DDEV.
Installing Docker and DDEV
Before we can get started you will need to install Docker and Docker Compose. You can find documentation on how to correctly do this here.
Once those are installed we can continue with installing DDEV. You can find installation instructions for Linux, MacOS and Windows here.
Installing Mautic
Clone the Mautic repository into a folder of your choice. Once that is done make sure to install the Composer dependencies with composer install.
Starting DDEV and configuring Mautic
Use the command line and navigate to the root of your Mautic installation. Once there, run
ddev config
It will ask you for a project name – you can leave it at the default, or give it a custom name. This is really up to you. For the purposes of this example, we will name this project mautic.
Next it will ask for the docroot of the project.
Since the index.php of Mautic is located in the root folder of the project, we can just go with the default value. Simply press enter.
After this it will ask for the project type. Enter php and hit enter again.
Everything should now be configured. We just need to change one more thing! Go to .ddev/config.yaml and you’ll find something similar to:
APIVersion: v1.13.1
name: demodir
type: php
docroot: ""
php_version: "7.3"
webserver_type: nginx-fpm
router_http_port: "80"
router_https_port: "443"
xdebug_enabled: false
additional_hostnames: []
additional_fqdns: []
nfs_mount_enabled: false
provider: default
use_dns_when_possible: true
timezone: ""
… change the webserver type to the following:
webserver_type: apache-fpm
… add the following row (make sure to replace 7.3 with whichever PHP version you’re using!):
webimage_extra_packages: [php7.3-imap]
… and change the timezone to whichever timezone you’re in, for example:
timezone: "Europe/Amsterdam"
… you’ll have the following config.yaml file then:
APIVersion: v1.13.1
name: mautic
type: php
docroot: ""
php_version: "7.3"
webserver_type: apache-cgi
router_http_port: "80"
router_https_port: "443"
xdebug_enabled: false
additional_hostnames: []
additional_fqdns: []
nfs_mount_enabled: false
provider: default
use_dns_when_possible: true
timezone: "Europe/Amsterdam"
webimage_extra_packages: [php7.3-imap]
Note: if you have Apache2 or nginx installed, and they are currently using port 80, ensure that you shut them down or change their ports before starting the DDEV instance. If you do not follow this step, starting will fail with an error message telling you that port 80 is already in use.
You can start DDEV by running
ddev start
on the command line.
If this is your first DDEV instance this can take a bit of time to initialise, as it will need to pull all the containers.
If you cloned Mautic from GitHub, you need to run composer install in order to get started. Run
ddev ssh
composer install
… and you should be good to go.
Once started you will find your project at mautic.ddev.site (in case you used a different project name it will be yourprojectname.ddev.site).
Navigating there in the browser should bring up the Mautic installation. Make sure that during the installation you use the following settings:
- Database port: 3306
- Database host: db
- Database name: db
- Database user: db
- Database password: db
You can now finish the installation process. Your local Mautic instance should be up and running!
To stop the containers, simply run
ddev stop
on the command line.
Opening Mautic’s development environment (index_dev.php)
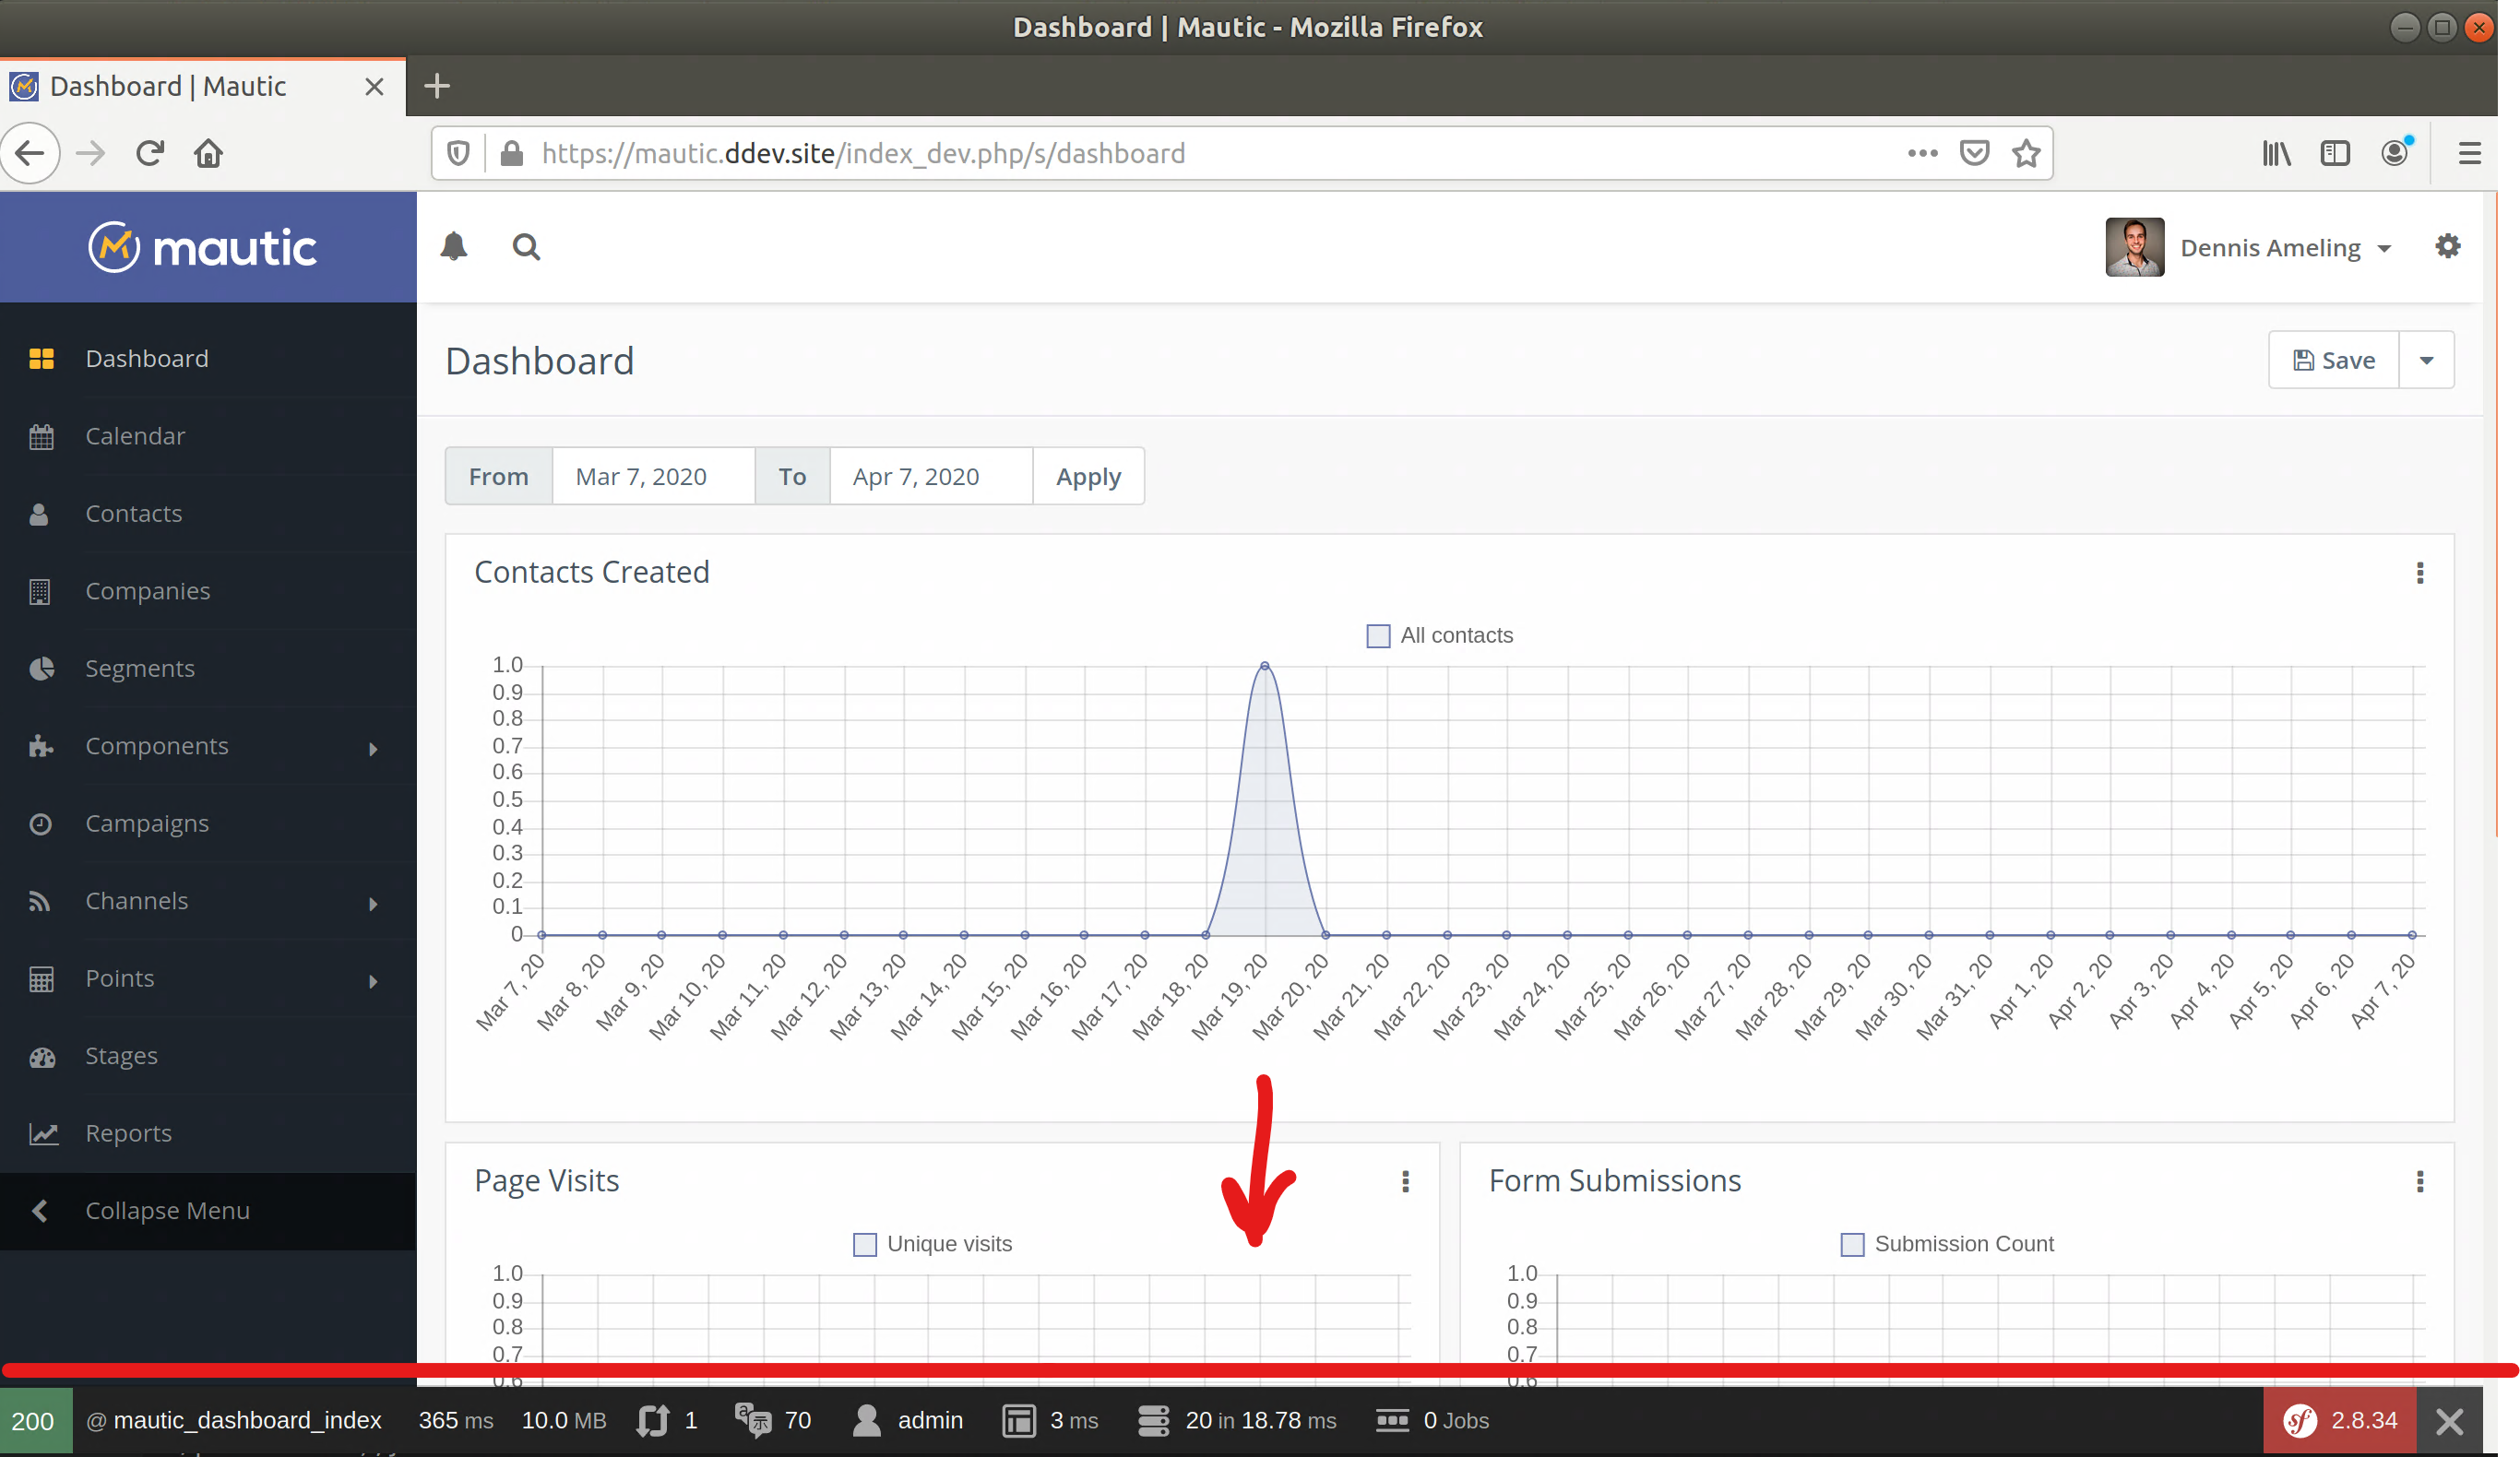
Mautic has a development environment (index_dev.php) which shows a profiler toolbar at the bottom, shows more error details, and caches less (so you have to clear your cache less often).
The only downside is that the development environment is designed to work on localhost only. Since DDEV uses Docker, which has a slightly different networking stack, we need to make a small change in the code to get index_dev.php to work on DDEV.
Open app/middlewares/Dev/IpRestrictMiddleware.php and replace this code snippet:
    /**
     * This check prevents access to debug front controllers
     * that are deployed by accident to production servers.
     *
     * {@inheritdoc}
     */
    public function handle(Request $request, $type = self::MASTER_REQUEST, $catch = true)
    {
        if (in_array($request->getClientIp(), $this->allowedIps)) {
            return $this->app->handle($request, $type, $catch);
        }

        return new Response('You are not allowed to access this file.', 403);
    }
… with this one:
/**
     * This check prevents access to debug front controllers
     * that are deployed by accident to production servers.
     *
     * {@inheritdoc}
     */
    public function handle(Request $request, $type = self::MASTER_REQUEST, $catch = true)
    {
        return $this->app->handle($request, $type, $catch);
    }
That way, we bypass the IP restriction middleware (otherwise you’ll get an error “You are not allowed to access this file” when trying to access index_dev.php).
Now you should be able to open index_dev.php in your DDEV environment
Running Mautic CLI commands in DDEV
You can run Mautic CLI commands (like clearing cache) as follows:
ddev ssh
Then you can run CLI commands, for example:
bin/console cache:clear --env=dev
bin/console mautic:campaigns:update
etc.
Using MailHog to catch emails in DDEV
(update: MailHog is no longer available as an option)
Run
ddev describe
And it’ll show you the following at the bottom (example):
Other Services
--------------
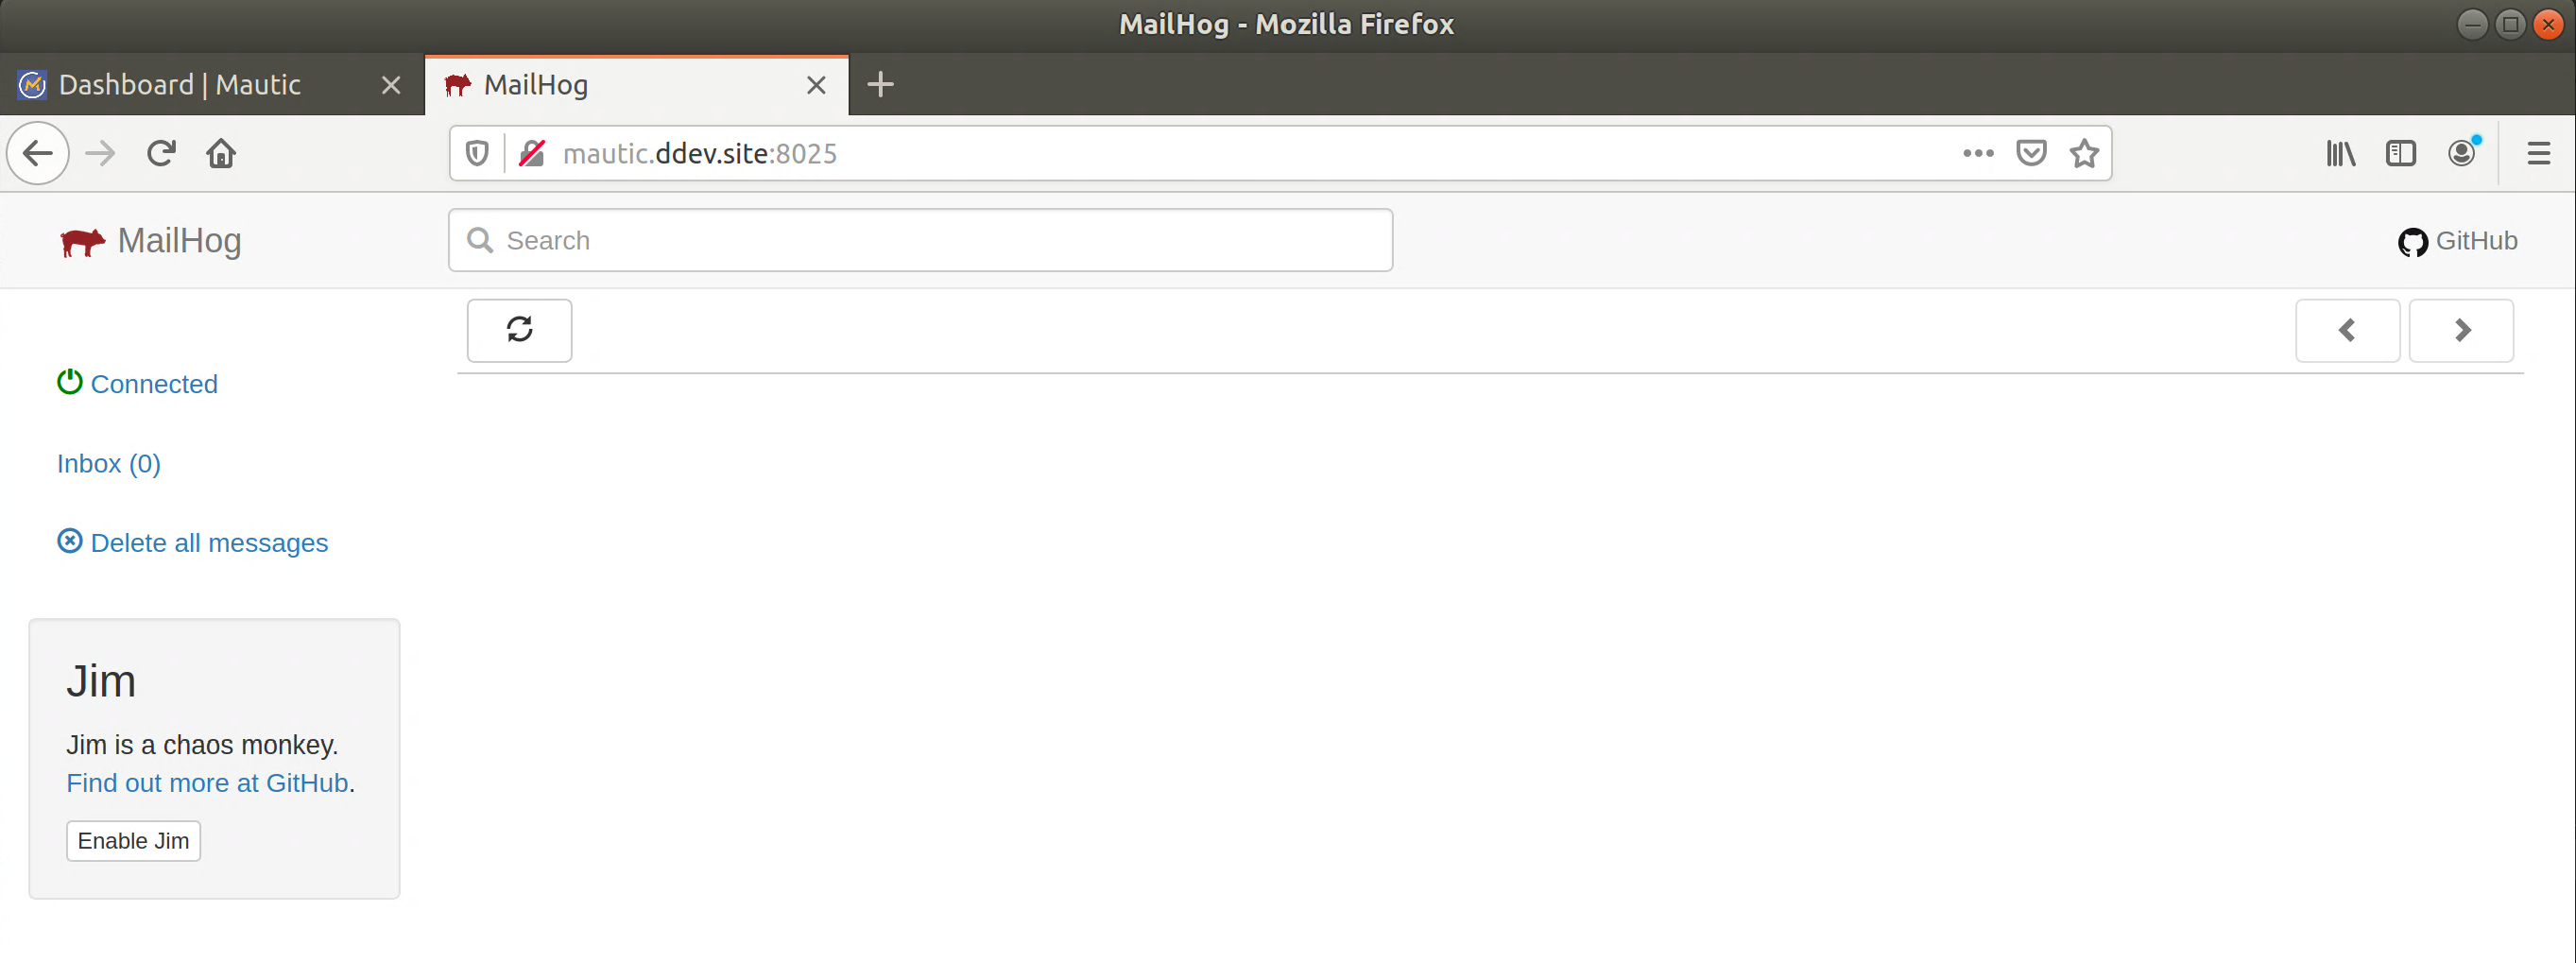
MailHog:        http://mautic.ddev.site:8025
phpMyAdmin:     http://mautic.ddev.site:8036
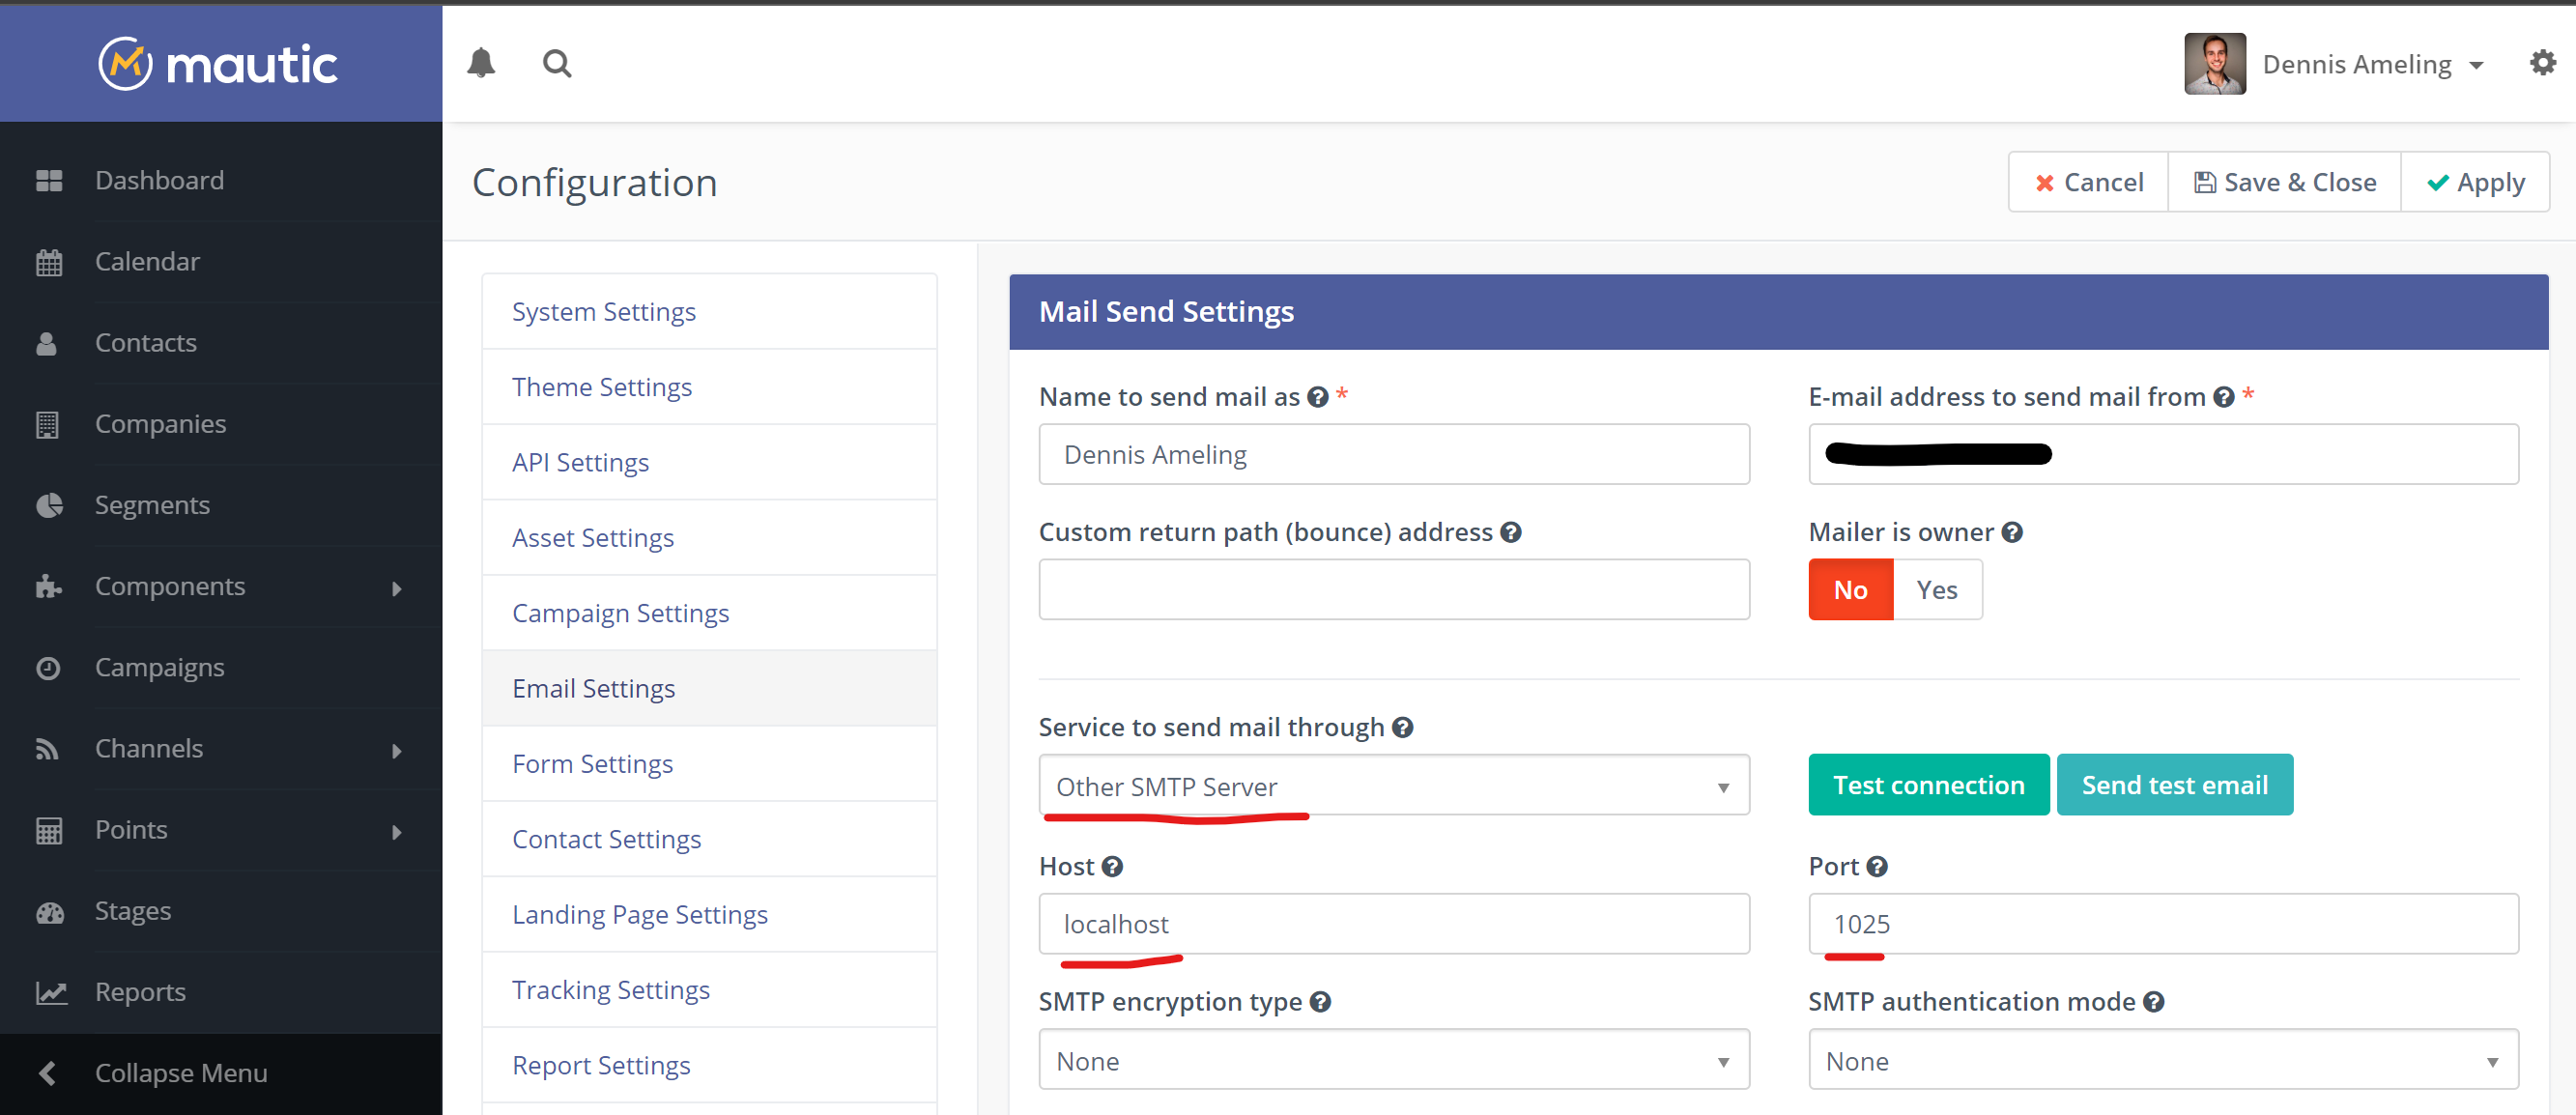
You can use MailHog to catch all emails sent by Mautic (without having to use an SMTP server). In your Mautic email configuration, go to Email Settings and select “Other SMTP server”, then enter “localhost” and use port 1025. All emails will end up in MailHog.
Further useful DDEV tips and tricks
Here you can find some other useful things you might need later along the way.
SSH into the container
To SSH in to the web container, simply use
ddev ssh
on the command line.
If you wish to directly execute a command inside the container without going in with ssh first you can use
ddev exec yourcommandhere
Using Xdebug
You can use
ddev exec enable_xdebug
and
ddev exec disable_xdebug
respectively to turn Xdebug on and off.
Changing PHP versions
Navigate to .ddev/config.yaml and edit the parameter called php_version. Once that is saved, run
ddev restart
Using additional PHP modules
Once DDEV has been set up, you can find its configuration in the .ddev folder.
If you need an extra PHP modules enabled such as IMAP for example, you can add it doing the following:
Navigate to .ddev/config.yaml and find the following row:
webimage_extra_packages: [php7.3-imap]
So, if you want to add the php-imap package, you would add the package as above. You can add additional packages by comma-separating them.
Now save this file and restart your DDEV instance by running
ddev restart
Using PHPMyAdmin
A DDEV instance comes with PHPMyAdmin by default. To find out the location of the PHPMyAdmin instance of the current project, use
ddev describe
This will give you a lot of information about your containers, including the URL to the PHPMyAdmin instance.
Running PHPUNIT tests
In Mautic 5, you need to create .env.test.local file that will configure the test environment. Here is the content of this file:
# .env.test.local
DB_HOST=db
DB_PORT=3306
DB_NAME=test
DB_USER=db
DB_PASSWD=db
MAUTIC_DB_PREFIX=
MAUTIC_TABLE_PREFIX=
MAUTIC_ENV=test
MAUTIC_ADMIN_USERNAME=admin
MAUTIC_ADMIN_PASSWORD=Maut1cR0cks!
Make sure that the database with name “test” exists. You can add a prefix if you want.
Then run the tests with:
composer test
or if you want to run a specific test then you can filter for it:
composer test -- --filter specificTest
